Building the Beast: Constructing my dream Land Rover (Part 2)
Building the Beast is a brand-new feature which follows the progress of 30-year-old Tom as he restores his dream classic Land Rover. We chart the ups and downs of the project, from Tom’s initial plan, all the way to the completed restoration.
It had taken a couple of weeks to get everything in place – but the garage was built, the project car had arrived and following a Christmas where my family bought me almost every Land Rover manual currently on the market, I was ready to get started on the most ambitious build I have ever done.
Taking the body apart
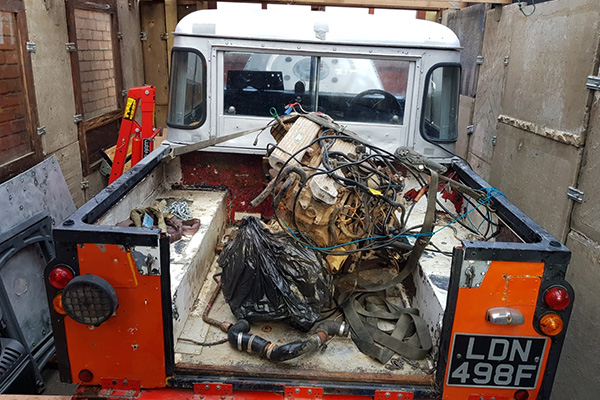
Before work could commence on building my Land Rover, the project car needed to be stripped of all its parts and fixtures so I could find out what could be reused and what needed to be scrapped or sold. I set to work and over the first few days of the project removed the truck cab, bonnet, wings, seatbox, floor plates and radiator panel.
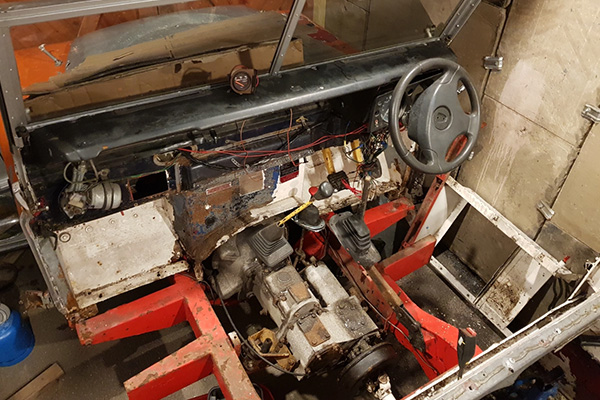
Unfortunately, as the break down continued I found that most of the major body panels were not much better than scrap, with a fair amount of rust. The low price of the project car meant that I was expecting this though and while some parts like the truck cab and the doors could be sellable, I was able to keep the seatbox, heater and bulkhead brackets for the new car.
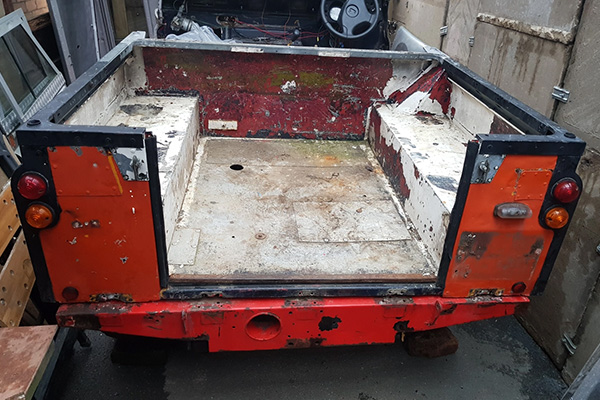
Stripping the old rear tub was a very similar story. There was a lot of rust underneath, but I was able to reuse some parts like the tailgate, light covers, number plate, and chains.
The old doors didn’t look too bad from a distance, but up close it was clear that they were mostly held together with paint and were thoroughly corroded at the bottom. I managed to sell these for off road use – after taking off the handles and hinges of course!

Stripping the paint
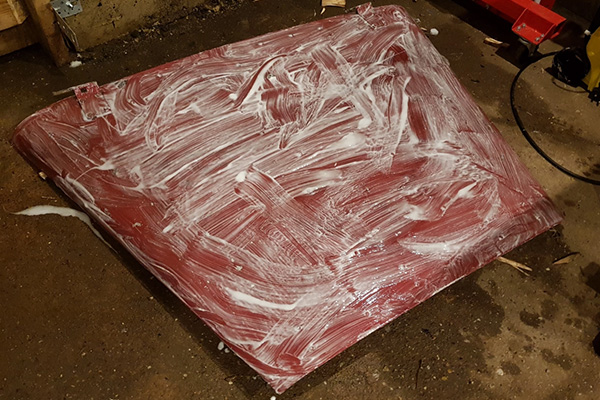
I found myself in need of replacement body panels and started shopping around and collecting them on an almost daily basis before getting to work stripping the paint. I bought about 5 litres of solvent-based paint remover (very potent stuff so I made sure I had all necessary PPE on) and began the process of stripping old paint. I won’t name the brand of paint remover that I used, but I found it to be a bit hit and miss when using it on the panels, completely removing some layers and appearing to have no effect on others. There is every chance that this may be because of the type of paint used – but eventually, I managed to get the old paint stripped.
Following this, a bit of sanding for the replacement wings and bonnet got them looking ready for a repaint.
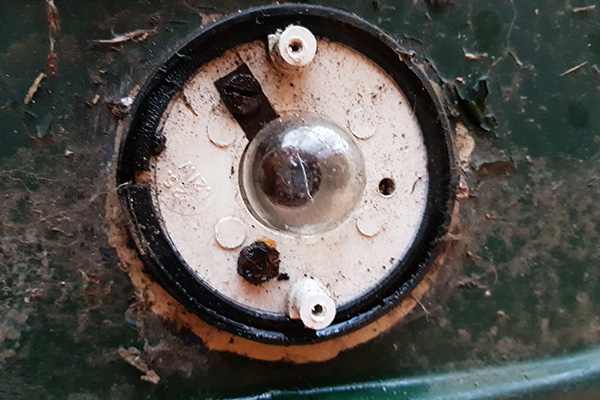
My replacement wings came with the lights and indicators in, which I needed to remove for painting. When I got in there, I found that there was a bit of corrosion behind the indicators but nothing substantial that couldn’t be restored.
A quick note about the engine
I mentioned in the first blog that the project car was sold with a working Discovery 200tdi sat in the rear tub. With all the time I spent stripping paint and sanding panels, I found myself looking over at the engine frequently, and with very little coercion, decided to see if it was indeed running as advertised. To my relief it was running well. It started on the first try, sounded great and didn’t give off too much smoke. I didn’t mind having to buy new panels too much after that.
Join us next time when Tom starts respraying the panels of his Land Rover.
Did you miss part 1 of Building the Beast? Read it here
Do you have experience restoring vehicles? What advice would you give to someone starting their first restoration project?

COMMENT